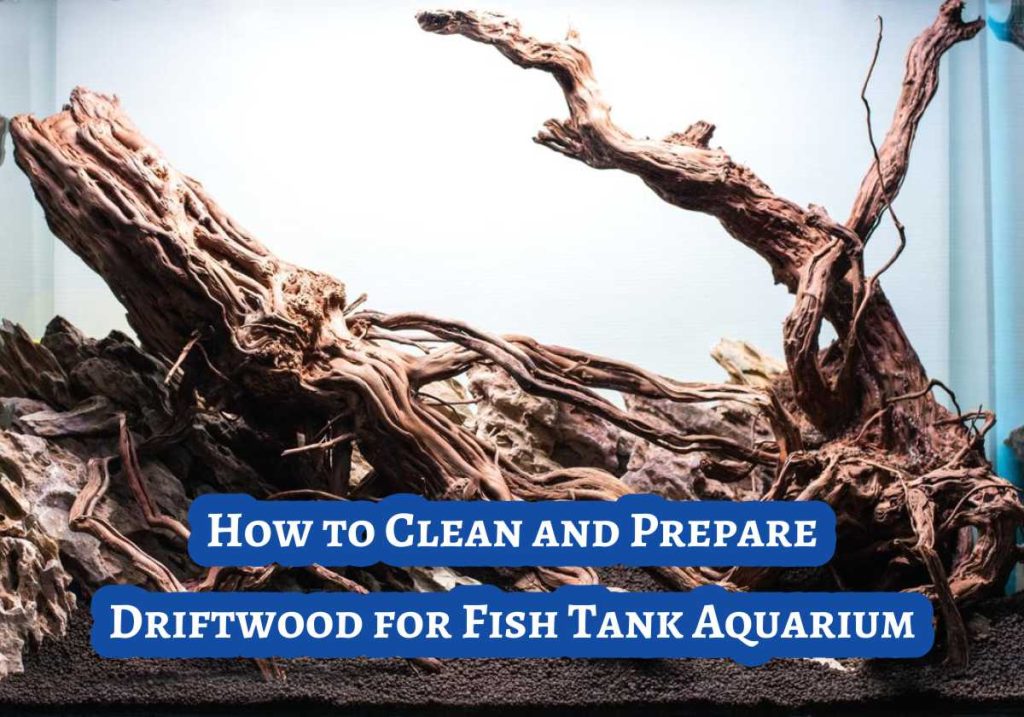
As an Affiliate, We may earn a commission that doesn't cost you extra from qualifying purchases using links in this post. It helps keeps this blog running.
Picture a tranquil underwater world alive with vibrant fish, lush aquatic plants, and pristine waters. For those deeply passionate about aquariums, crafting a mesmerizing aquatic haven is truly an art. And what better method to elevate the allure of your aquarium than by incorporating carefully prepared driftwood?
Driftwood goes beyond mere decoration; it plays a crucial role in your aquarium ecosystem. Not only does it offer shelter and act as a natural aesthetic reminiscent of the fish’s native habitats, but it also serves as a source of food. However, before casually introducing a piece of driftwood into your tank, there are essential steps to take to safeguard the health and longevity of your aquatic community.
In this comprehensive guide, I’ll guide you through the process of preparing driftwood for your fish tank, emphasizing the importance of this preparation. I’ll provide a detailed, step-by-step overview of how to clean driftwood effectively. Whether you’re an experienced aquarist or a novice eager to transform your tank into a natural oasis, this article will furnish you with the knowledge and techniques necessary to ensure the thriving success of your aquarium.
So, let’s dive in and explore the fascinating world of driftwood and how to prepare it for your aquarium. By the end of this article, you’ll be well on your way to creating a captivating underwater paradise for your aquatic companions.
How To Clean and Sterilize Driftwood for Fish Tank Aquarium (10 Steps)
Let’s walk you through the step-by-step process of cleaning and sterilizing driftwood for your aquarium.
Step 1: Gather Your Materials
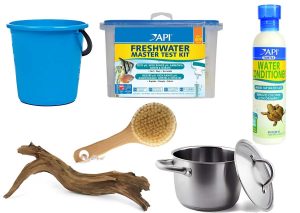
Before you start the driftwood cleaning process, make sure you have the following items on hand:
– Driftwood
– Bucket or container
– Boiling pot
– Soft brush or toothbrush
– Aquarium water conditioner
– Water testing kit
Step 2: Selecting the Right Driftwood
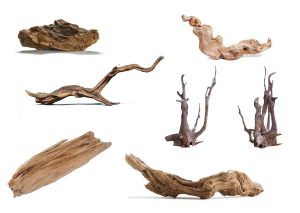
There are different types of driftwood. Choose a driftwood that is safe for your fish’s aquarium and free of toxic substances. Avoid driftwood from saltwater environments, as it can contain harmful salt residues. Stick to driftwood from freshwater sources, such as rivers or lakes.
Step 3: Soak the Driftwood
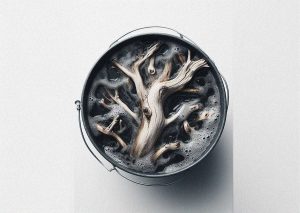
Place the driftwood in a large bucket or container filled with water. Let it soak for several days or until it becomes waterlogged. This helps the wood sink in your aquarium and leaches out some of the tannins that can discolor your water.
Step 4: Boil the Driftwood
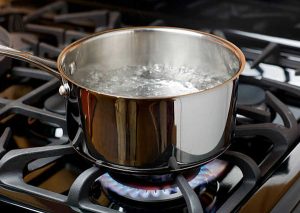
To eliminate any potential contaminants and pathogens, boil the driftwood. Fill a pot with water and bring it to a rolling boil. Submerge the driftwood in the boiling water and let it boil for 30 minutes to an hour. This process will sterilize the wood and release tannins, which can help reduce water discoloration.
Step 5: Scrub Away Debris
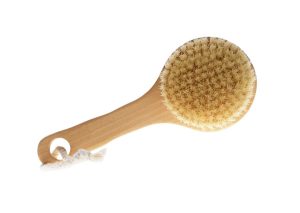
After boiling, let the driftwood cool to room temperature. Then, use a soft brush or toothbrush to scrub away any remaining debris, algae, or loose bark. Be gentle to avoid damaging the wood’s texture.
Step 6: Rinse Thoroughly
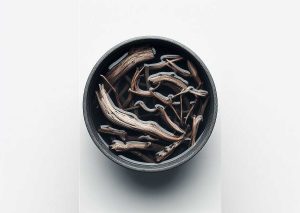
Rinse the driftwood thoroughly under running water to remove any remaining particles and tannins. Ensure the water runs clear before proceeding.
Step 7: Test Water Parameters
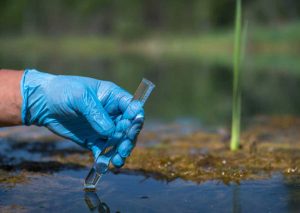
Before adding the cleaned driftwood to your aquarium, test your water parameters, including pH, hardness, and any other relevant parameters to meet the requirements for your kind of fish. This will help you assess how the driftwood will affect your tank’s water chemistry.
Step 8: Condition the Water
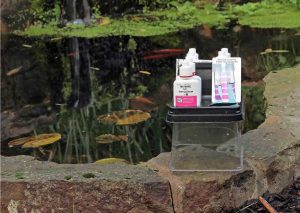
To make the transition easier for your aquatic life, use your fish-specific water conditioner in the tank to neutralize any remaining tannins and ensure water quality remains optimal.
Step 9: Add Driftwood to the Aquarium
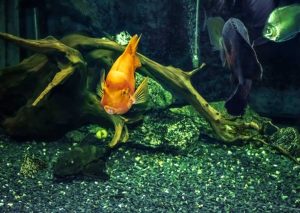
Carefully place the clean driftwood into your aquarium, ensuring it’s positioned securely and won’t topple over. You can use rocks or aquarium-safe adhesive to stabilize it if needed.
Step 10: Monitor and Maintain

As always, do keep a close eye on your aquarium’s water quality and appearance. Driftwood may still release tannins over time, which can temporarily discolor the water. Regular water changes and the use of activated carbon can help minimize this effect.
Cleaning the Driftwood For Fish Tank: Purpose And Why Driftwood Needs To Be Cleaned
At this point, it’s no news that beautifully weathered driftwood serves several important functions in a fish tank. It not only enhances the aesthetics but also contributes to the overall health and stability of your aquarium ecosystem. This is why this section will be focusing on shedding light on this crucial aspect of fish tank setup that often gets overlooked – which is how to clean driftwood for a fish tank.
Here are 5 reasons why it’s essential to clean driftwood thoroughly before introducing it to your aquatic habitat:
1. Removal of Contaminants and Debris:
Driftwood can come into contact with various contaminants during its time in natural water bodies. These contaminants may include algae, bacteria, fungi, or even pollutants. Cleaning the driftwood helps eliminate these potential threats to your aquarium’s water quality.
2. Preventing Algae Growth:
Algae can quickly colonize driftwood, especially if it has been exposed to sunlight and moisture. Cleaning the driftwood removes existing algae and reduces the risk of future growth, which can compete with your aquatic plants for nutrients.
3. Reducing Tannin Release:
Driftwood often contains tannins, natural compounds that can leach into the water and turn it brown. While some aquarium enthusiasts appreciate the “blackwater” look, excessive tannin release can negatively affect the pH and clarity of the water. Cleaning helps minimize this issue.
4. Ensuring Fish Safety:
Cleaning and sterilizing driftwood removes any potential parasites or pathogens that might be present on its surface. By doing so, you protect the health and well-being of your fish, preventing illnesses that can be caused by these harmful microorganisms.
5. Enhancing Aquarium Aesthetics:
A clean piece of driftwood adds to the visual appeal of your aquarium. It allows you to create a more pleasing and natural environment for your fish, enhancing their overall quality of life.
6. Preventing Unwanted Organic Decomposition:
Driftwood that hasn’t been properly cleaned may contain organic matter such as leaves, twigs, or dead organisms. When these substances break down in your aquarium, they can contribute to ammonia spikes and deteriorate water quality. Cleaning the driftwood removes this potential source of water pollution.
7. Minimizing pH Fluctuations:
Some untreated driftwood can have a significant impact on the pH levels of your aquarium water due to the release of tannins and other compounds. Proper driftwood sterilizing helps stabilize pH levels, creating a more suitable environment for your fish and plants.
Adding Driftwood to Aquarium
After understanding how to prepare driftwood for an aquarium, you then need to understand that striking a balance between light and shade is crucial for the well-being of aquatic plants. Adding driftwood to your aquarium requires thoughtful consideration because placement is key to ensure that the driftwood not only enhances the aesthetics but also provides natural hiding spots for your fish without overcrowding the tank or obstructing water flow.
How To Add Driftwood To An Aquarium Fish Tank
Step 1: Plan Your Aquascape For The Driftwood Placement
Take some time to envision and consider the layout and design of your aquarium especially how you want your aquarium to look with the addition of driftwood. Decide where you want to place the driftwood to create a visually appealing and functional aquascape.
Think about how it will affect water flow and the well-being of your aquatic inhabitants. Remember you can always create caves, and overhangs, or use the driftwood as a centerpiece.
Step 2: Arrange and Place the Driftwood
Now, it’s time to place the driftwood in your aquarium. If you have substrate in your aquarium, create small depressions in the substrate to anchor the driftwood securely. This will prevent it from shifting.
Step 3: Now Attach and Secure the Driftwood
Depending on your preference and the size of the driftwood, you can either use silicone adhesive, fishing line or suction cups to secure the driftwood in place to ensure it’s stable and won’t tip over.
– Using Silicone Adhesive:
Put on latex gloves to protect your hands.
Apply a generous amount of aquarium-safe silicone adhesive to the base of the driftwood.
Press the driftwood firmly into your desired location within the aquarium substrate. Allow the adhesive to cure according to the manufacturer’s instructions.
– Using Fishing Line:
Wrap the fishing line around the driftwood and secure it in place by tying knots. You can bury the knots under the substrate or hide them with plants and decorations.
Step 4: Monitor and Adjust as Needed
After adding the driftwood, keep a close eye on your aquarium for any changes in water quality or any shifts in the driftwood’s position. Adjust as needed to maintain the desired aesthetic and the well-being of your fish.
Step 5: Maintain Your Driftwood
Regular maintenance is essential, which is why you want to make sure you are cleaning the driftwood by removing algae and debris from its surface during water changes to keep it looking pristine.
You might also want to re-soak the driftwood until it is clear again if you notice excessive tannins leaching or water discoloration returning.

I’m Akin Bouchard. Even though I now own several different fish species, I first became a koi pond owner because I loved these creatures and wanted to turn my passion into something more serious. I take pride in my collection of koi fish and love sharing my knowledge with others interested in these beautiful creatures.
A Comprehensive Guide to Training Your Fish to Perform Amazing Tricks Feats

